
Reduce Heat Loss Through Doors: A 2026 How-To Guide
Table of Contents
How to Diagnose Where Your Doors Leak Heat
The candle and hand test: finding draughts in minutes
Checking door frames, thresholds and letterboxes
How to Draught-Proof a Door: Step-by-Step
Tools and materials you will need
Step 1: Diagnose before you buy
Step 2: Seal gaps around the frame and hinges
Step 3: Fit threshold seals and door sweeps
Step 4: Deal with the letterbox and keyhole
Step 5: Test and adjust
Door-type quick guide
When to call a professional
Choosing the Right Draught Excluder for Doors
Door Insulation: What Works and What Doesn't
Insulated External Doors: When Replacement Pays Off
Costs, Savings and Payback for Door Upgrades
Typical material costs
Replacement door costs
Estimating your savings
Payback logic for replacement
Prioritising your spend
Ventilation, Moisture and Fire Safety: Getting the Balance Right
Measuring Results and Prioritising Your Improvements
Frequently Asked Questions
Last Updated: October 15, 2026
How to Diagnose Where Your Doors Leak Heat
Cold air slipping under a door is one of the easiest ways to lose heat, and often the cheapest to fix.
A draught is air moving through a gap where it should not. Most door draughts come from four places: the frame edges, the threshold, the letterbox, and the keyhole.
The candle and hand test: finding draughts in minutes
Hold a lit candle about 2 cm from the edge of a closed door. If the flame flickers or bends, you have found a leak.
No candle? Use the back of your hand, it is more sensitive to cold air than your fingertips.
Test along the top of the frame first
Then down both sides, near the hinges and the latch
Finish at the bottom, along the full threshold
Do this on a cold, windy day for the clearest results.
Checking door frames, thresholds and letterboxes
Look for daylight around the frame when the door is shut. Any light means air is getting through. Run a finger along the seals; if they feel brittle, flat, or missing, they need replacing.
Check the threshold gap with a sheet of paper. The Energy Saving Trust guidance on draught-proofing recommends tackling these gaps before spending money on bigger upgrades.
How to Draught-Proof a Door: Step-by-Step
Draught-proofing a door takes most homeowners under an hour with basic tools. The aim: fill every gap where cold air enters and warm air leaves. A timber back door, a uPVC front door, and an internal door each need slightly different treatment.

Ensuring a uniform seal around the entire perimeter prevents cold air infiltration, though you should also inspect the threshold and hinges to
fix light gaps
that might otherwise compromise your thermal efficiency.
Tools and materials you will need
Tape measure and pencil
Scissors or a craft knife
Screwdriver (Phillips and flathead)
Difficulty: beginner for foam strips and letterbox covers; moderate for threshold seals and door sweeps, which need trimming and careful alignment.
Step 1: Diagnose before you buy
Before spending anything, work out where the air is coming in. Close the door and check:
Frame edges, run the back of your hand along the top and both sides. A steady coolness means a gap in the rebate.
Hinges and latch, common leak points because the door can sit slightly off-square.
Threshold, slide a sheet of A4 paper under the door and try to pull it out. If it slides free, the gap is too wide.
Match each leak to a fix before you buy, the wrong seal is the most common mistake.
Step 2: Seal gaps around the frame and hinges
Start with the frame. Clean and dry the surface first, or nothing will stick.
Measure the full length of the frame opening
Cut self-adhesive foam or rubber strip to size
Press it firmly into the rebate where the door closes
Check the door still latches without force
For gaps wider than about 5 mm, use a brush or wiper seal instead of foam.
Common mistake: fitting the strip too far into the rebate so the door will not close. If the door needs a shove, the strip is too thick or too deep.
Step 3: Fit threshold seals and door sweeps
The gap under the door is usually the biggest single leak.
Brush seals suit uneven floors
Rubber wiper seals work best on flat thresholds
A door sweep screws to the bottom of the door leaf
Fit the seal so it touches the floor lightly. Too much pressure and the door drags; too little and the draught remains.
Common mistake: cutting the seal too short, leaving a gap at each end. Measure twice, cut once, and allow a small overlap at the hinge side.
Step 4: Deal with the letterbox and keyhole
A letterbox brush or flap and a keyhole cover are inexpensive and quick to fit. On a timber door they screw or clip on; on composite or uPVC doors, check the manufacturer's guidance first, as some letterboxes are integrated and need a specific part.
Step 5: Test and adjust
Close the door and repeat the hand test. If a draught remains, the seal may be too thin or misaligned, adjust before moving on. Do not seal a fire door with foam strip.
Pro Tip Fit your threshold seal before the frame strips. Once the door is sealed at the bottom, it sits more squarely, and the frame gaps often shrink.
Door-type quick guide
Timber external door: foam or brush strip on the frame, threshold seal, letterbox brush, keyhole cover.
uPVC or composite door: use manufacturer-approved seals; avoid generic foam that can compress and fail.
Internal door: draught-proofing helps comfort and noise, but do not block ventilation paths between rooms where required.
When to call a professional
If the door is warped, the frame is rotten, or the door is a fire door, a DIY seal may not be the right fix. A qualified fitter can assess whether it needs adjusting, re-hanging, or replacing.
Choosing the Right Draught Excluder for Doors
A draught excluder is any product that blocks air moving through a gap. The right one depends on where the gap is and how big it is.
Gap location | Best fix | Why |
Frame edges | Self-adhesive foam or rubber strip | Cheap, quick, suits narrow gaps |
Wide frame gaps | Brush or wiper seal | Covers uneven surfaces |
Under the door | Threshold seal or door sweep | Handles the largest leak |
Letterbox | Letterbox brush or flap | Stops direct cold air entry |
Keyhole | Keyhole cover | Small gap, big draught |
Measure every gap before you buy: a seal too thick stops the door closing, one too thin does nothing.
Door Insulation: What Works and What Doesn't
Door insulation means slowing heat passing through the door itself, not just the gaps around it. These are two different problems, and mixing them up wastes money.
What works:
Draught-proofing the frame, threshold, and letterbox
Fitting a letterbox flap and keyhole cover
Adding a thermal-lined curtain across the door
What does not work well:
Painting the door thicker
Stuffing newspaper into gaps
Sealing a door that needs to let air through
A solid timber door insulates reasonably well on its own; a hollow or glazed door loses far more heat. If yours is hollow, sealing the gaps is the cheap win and replacing the door the long-term one.
Watch Out Never block a permanent vent in a door or wall. Older homes often rely on these vents to stop condensation and damp. Seal them and you trade a draught for mould.
Insulated External Doors: When Replacement Pays Off
Insulated external doors are built with a core that slows heat passing through the door leaf. They make the biggest difference when your current door is hollow, warped, or single-glazed.
Signs it is time to replace:
The door is hollow or has thin single glazing
It has warped, so it no longer seals even with new strips
You can feel cold radiating from the door surface itself
Replacement is a bigger spend, so fix the gaps first and see how much that alone helps. If the door still feels cold to the touch, the leaf itself is the problem.
Costs, Savings and Payback for Door Upgrades
Draught-proofing is one of the cheapest energy fixes you can make: materials cost little and you can fit most yourself. Replacement doors cost far more, so they only pay off when the old door is genuinely inefficient. Prices vary by supplier, door size, and whether you fit it yourself.
Typical material costs
Foam or rubber draught strip: around £5-£15 per door
Brush or wiper seal: around £8-£20 per door
Threshold seal or door sweep: around £10-£30 per door
A full DIY draught-proofing kit for one external door usually lands between £30 and £70 in materials.
Replacement door costs
A new insulated external door, supplied and fitted, commonly falls in these ranges:
uPVC insulated door: around £500-£1,200
Composite door: around £800-£2,000
Timber insulated door: around £700-£1,800
Prices depend on size, glazing, hardware, and whether the frame needs replacing. Always get at least two quotes.
Estimating your savings
There is no universal savings figure, it depends on how leaky your door was, how much you heat your home, and your energy tariff. A sensible approach:
Note your meter readings over a cold week before you start.
Fit the low-cost fixes first.
Take readings over a comparable cold week afterwards.
Compare like with like, same weather, same heating pattern.
Most households notice improved comfort within days. The financial saving is usually modest for draught-proofing alone, but the payback on a £30-£70 kit is often within a single heating season.
Payback logic for replacement
A replacement door only makes financial sense when the old door is hollow, warped, single-glazed, or beyond sealing. If draught-proofing has not stopped the cold spots, the leaf itself is the problem, and payback is longer, often several years, with the decision as much about comfort, security, and appearance as energy bills.
Prioritising your spend
Work in this order:
Lowest cost, highest impact: threshold seal, frame strips, letterbox and keyhole covers.
Moderate cost: door sweep, thermal curtain.
Highest cost: full replacement with an insulated door.
Start at step 1, measure the difference, then decide if you need to go further. For current guidance on home energy efficiency, GOV.UK guidance on energy efficiency in homes is a useful starting point, and our team can quote for your specific door.
Watch Out Do not seal a permanent vent or a fire door to save money. The cost of fixing damp or a fire-safety breach is far higher than any heating saving.
Ventilation, Moisture and Fire Safety: Getting the Balance Right
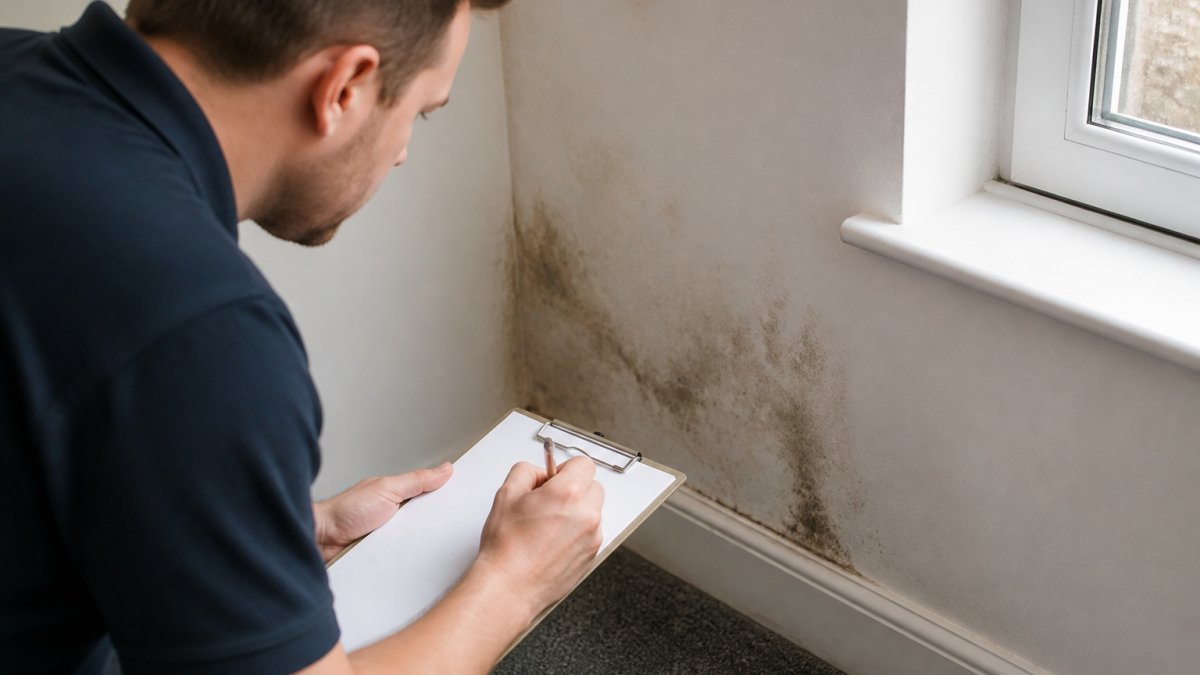
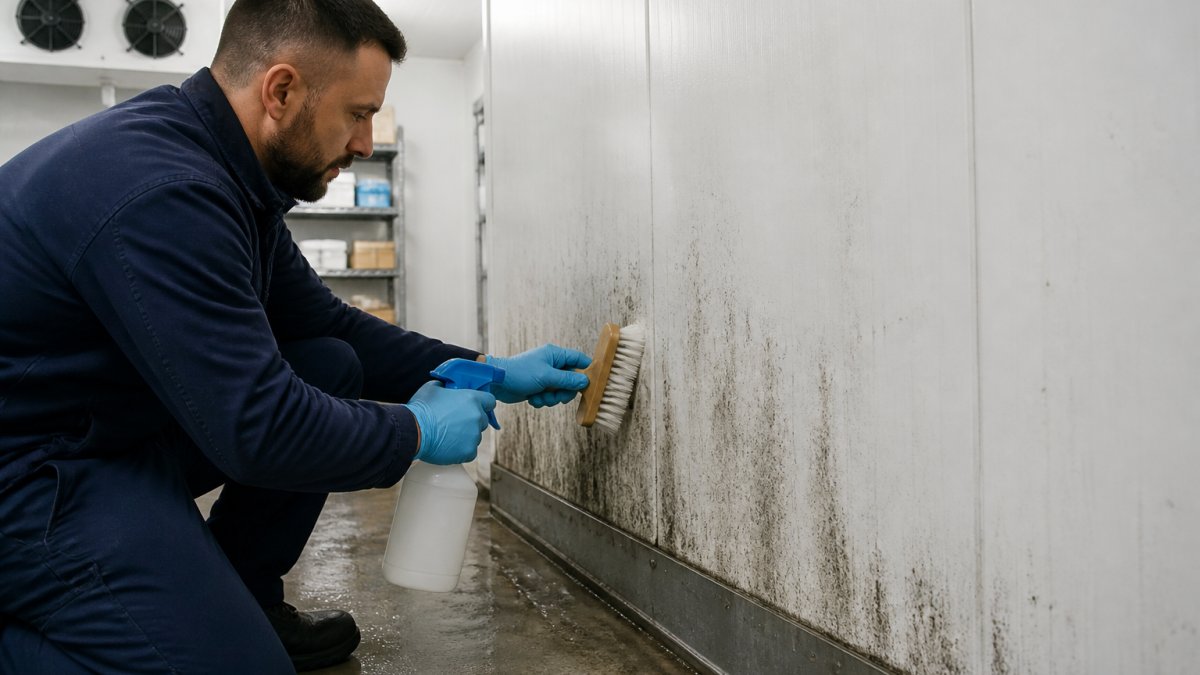
Sealing a home too tightly traps moisture indoors, which settles on cold surfaces and feeds mould, especially in older properties. Draught-proofing and ventilation have to work together.
Keep trickle vents open where fitted
Use extractor fans in kitchens and bathrooms
Open windows briefly each day to swap the air
That last point matters. A fire door is built to hold back smoke and flames, and its seals are part of that job.
Key Takeaway Seal the gaps, but keep the air moving. A home that is airtight but unventilated trades a heating problem for a damp one.
Measuring Results and Prioritising Your Improvements
Measure before and after so you know what worked: note meter readings across a cold week before you start, then compare the same length of time after.
Work in this order:
Threshold and under-door gaps
Frame edges and hinges
Letterbox and keyhole
The door leaf itself, if it is still cold
Most homes notice a difference in comfort within days. If damp or mould is already present, sealing alone will not fix it.
Draughty doors waste heat every single day, and most of the fixes cost very little. Dri-House combines damp and mould treatment with ventilation, window, and door upgrades under one roof, so we can find the root cause and fix it properly.
Frequently Asked Questions
How can I reduce heat loss through a door without replacing it?
Start with draught-proofing. Fit brush or foam seals around the door frame, add a threshold seal or door sweep at the bottom, and use a fabric draught excluder for doors that are rarely opened. These measures reduce heat loss through doors by cutting air leakage. For solid timber doors, a layer of reflective foil or a thermal curtain adds insulation. Most homeowners notice a difference within days of sealing gaps, and the materials cost a fraction of a new door.
Can draught-proofing a door reduce heating costs?
Yes. Draughts force your heating system to work harder to maintain a comfortable temperature. Sealing gaps around doors reduces air leakage, so warm air stays inside longer and your boiler cycles less often. The Energy Saving Trust estimates that draught-proofing a typical home can save around £45 per year on energy bills. The exact figure depends on how leaky your doors are, your heating type and current energy prices. Combining door seals with loft and wall insulation delivers the biggest savings.
Are insulated external doors more energy efficient than standard doors?
Insulated external doors have a solid core, often filled with foam or composite material, which slows heat transfer far better than a hollow or single-skin door. They also come with better weather seals and multi-point locking that compresses the door against the frame. If your current door is thin, warped or has single glazing, upgrading to an insulated model can noticeably improve thermal performance and comfort. Look for a door with a low U-value and a good energy rating.
How do I know if heat is escaping around my door?
On a cold, windy day, hold your hand around the edges of the door, especially at the bottom, top and hinge side. You will feel cold air if there is a leak. A lit candle or incense stick works too: watch the flame or smoke for movement near gaps. You can also check for daylight around the frame. If you find draughts, seal those spots with weatherstripping, a threshold seal or a door sweep. Persistent condensation on the door itself may point to poor insulation rather than just air leaks.
Book Free Call

Comments