
How to Insulate Solid Brick Walls Internally
Last Updated: November 8, 2026
Quick Summary
To insulate solid brick walls, first fix any damp or cracks, then fit insulation boards that are sealed tightly at corners, floors, ceilings and window reveals. Breathable materials like mineral wool or calcium silicate suit most older brick walls, and insulation reduces condensation-prone thermal bridges when junctions are detailed properly.
Fix any damp, leaks or cracks before fitting insulation, since insulating over damp traps moisture.
Heat loss is worst at corners and wall junctions, where thermal bridges form.
Use a sequence of tests, starting with leaks and draughts, before committing to insulation.
Breathable materials such as mineral wool and calcium silicate are the safer choice for most solid brick walls.
Seal every joint, corner and penetration, since gaps let warm moist air reach the cold brick behind.
Is your solid brick wall losing heat?
Dri-House surveys damp, mould and insulation needs in solid brick homes.
Table of Contents
Why Solid Brick Walls Lose Heat and Where Cold Spots Form
Solid brick walls, common in older homes, have no cavity to trap air, so learning to insulate solid brick walls starts with understanding why they feel cold.
Heat loss is worst at corners and wall junctions.
Here are the usual culprits behind cold spots in solid brick walls:
Thermal bridging at wall-to-wall corners, wall-to-floor and wall-to-ceiling junctions, and around window and door openings
Missing, patchy or compressed insulation where a previous job was poorly detailed
Gaps and cracks letting cold air in, including around skirting, services and old vents
A cold wall surface also creates a dew point problem (Dew). When warm, moist room air touches a surface colder than its dew point, water condenses on it.
A diagnostic sequence before you spend money
Most guides list causes; fewer give you an order of tests. Work through these in sequence, because each step rules out a cheaper fix before you commit to insulation work.
Rule out a leak or defect first. Check for a plumbing leak, a failed gutter or downpipe, cracked render or a blocked rainwater goods. Penetrating damp often shows as a localised patch, a tide mark or staining that grows after rain. If you find one, fix it before anything else, insulation over a wet wall traps moisture.
Check for air leakage. On a cold, windy day, feel around skirting, window frames, service penetrations and the wall-floor junction. A draught is air movement, not a cold surface, and sealing it is far cheaper than insulating.
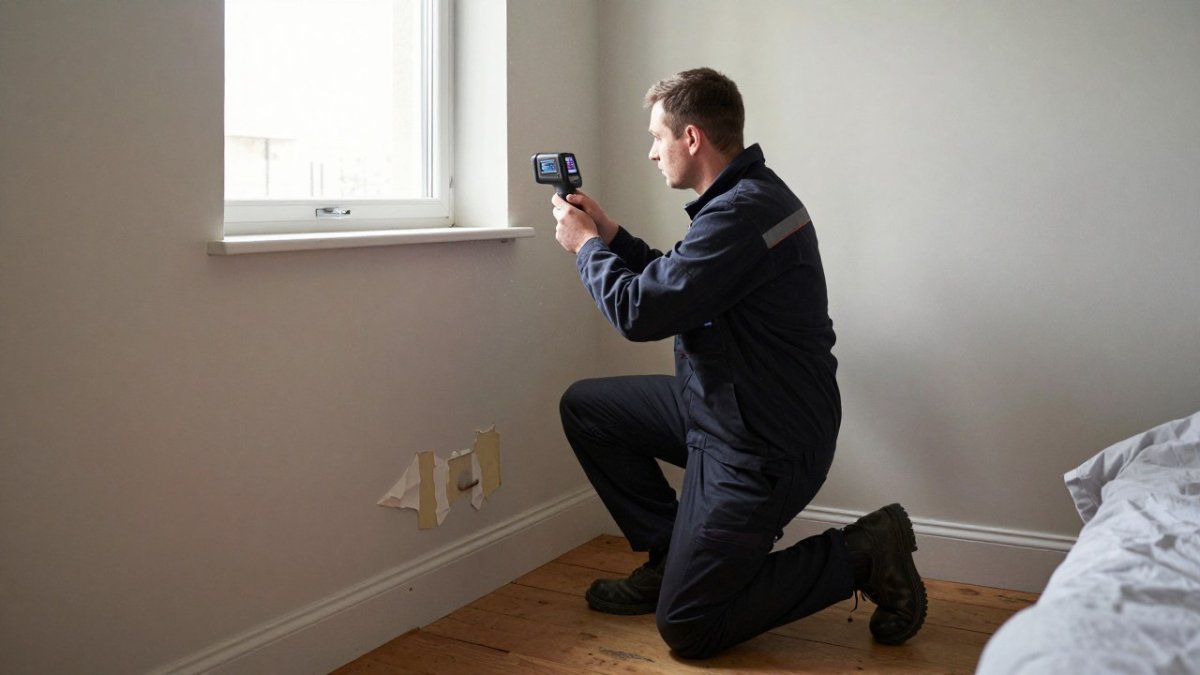
Measure surface temperatures. Use an infrared thermometer or a thermal camera to compare the middle of the wall with corners, reveals and junctions. A corner that reads several degrees colder than the wall centre points to thermal bridging or a gap in insulation, not to a general lack of insulation.
Measure humidity. A hygrometer tells you the room's relative humidity. High humidity plus a cold surface explains condensation; low humidity with a cold surface points to a thermal problem.
Confirm with a moisture meter. A pin or pinless moisture meter on the brick and plaster distinguishes a damp wall from a merely cold one. What these readings cannot prove is the cause, a moisture meter shows presence, not source, so use it alongside the steps above.
Watch out: a thermal camera shows surface temperature, not moisture or missing insulation directly; a cold patch can be a draught, a thermal bridge or damp, so never diagnose from the image alone.
Checking Whether Internal Wall Insulation Suits Your Property
Internal wall insulation, often called IWI, works well for many solid brick homes, and it is a common way to insulate solid brick walls from the inside.
Start by asking a few simple questions:
Is the wall already damp, or is there rising damp?
Are there signs of structural cracks or movement?
Do you have period features you want to keep, such as original cornices?
If you spot damp or cracks, fix those first. Insulating over a damp wall can trap moisture behind the new layer, which makes the problem worse.
A damp and mould survey can help you decide before you commit. Dri-House can advise on whether internal insulation is a sensible choice for your home.
Choosing the Best Insulation for Internal Walls
Several materials work for internal wall insulation. Each has trade-offs in performance, thickness and cost.
Common options include:
Rigid foam boards (such as PIR), which offer high insulation in a thin layer
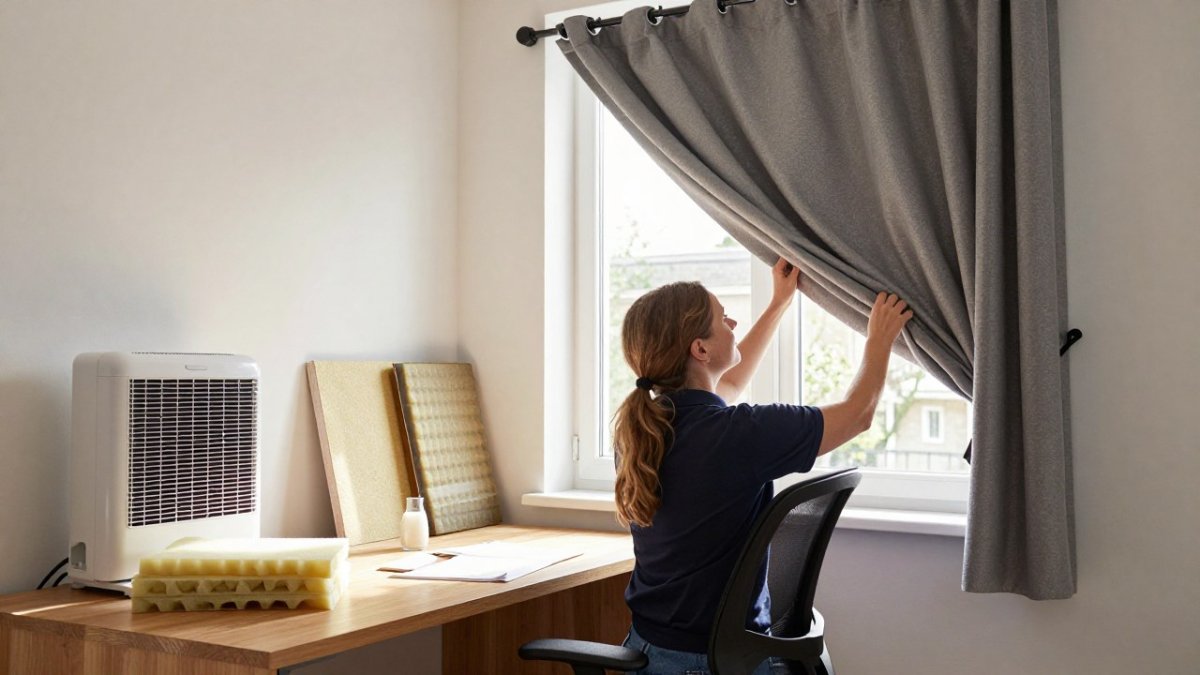
Mineral wool, which lets walls breathe and suits older buildings
Calcium silicate boards, which absorb and release moisture naturally
For most solid brick walls, breathable materials are the safer pick. Because moisture control depends on how the whole wall can dry, breathable lime mortar and plaster can help preserve that balance.
Our advice: always match the material to how the wall behaves, not just the insulation rating on the label.
Internal Wall Insulation Thickness and What It Costs You in Floor Space
Internal wall insulation takes up space. Most systems add between 50mm and 100mm to each wall, sometimes more with plasterboard and a skim finish. Across a whole room, that loss adds up.
Think about the trade-off:
Thinner systems save space but may give less insulation
Thicker systems improve performance but reduce room size
Built-in units, alcoves and door frames all need extra thought
Measure your room before you buy materials. Mark the new wall line on the floor with tape to see how the room will feel. This simple step avoids surprises after the work is done.
Managing Internal Wall Insulation and Damp Risk
Damp is the biggest risk with internal insulation. A solid brick wall can hold moisture, and insulation on the inside can stop that moisture drying out. Managing this risk is key to a successful job.
Watch for these warning signs:
Damp patches or staining around the edges of boards
Musty smells in the room
Mould forming at skirting boards or corners
Tell the difference between rising damp and condensation. Rising damp shows as a tide line on the lower wall. Condensation tends to show on cold surfaces, often in corners and behind furniture.
If you are unsure, a damp proofing guide can help you understand the causes and treatments. Our complete guide to damp proofing services covers costs, treatments and how to protect your home before you commit to work. Our article on spotting the signs of rising damp explains the symptoms and how to tell it apart from condensation.
Step-by-Step: Installing Internal Wall Insulation
Installing internal wall insulation is a job for skilled tradespeople. Still, understanding the steps helps you ask the right questions and check the work, especially at corners and junctions, where most failures happen.

Assess and prepare the wall. Fix any damp or cracks first. Clean the surface and remove loose plaster. Check that the wall is sound and that any existing damp course is intact.
Check electrics and fittings. Move sockets, switches and radiators as needed. Cabling in the wall must be rerouted or protected so it does not sit inside the insulation where it can overheat.
Plan the junctions before you fix boards. Decide how the insulation will meet the floor, ceiling, window reveals, party walls and internal walls. At each junction, the insulation must be continuous or sealed; a gap here is a thermal bridge and a condensation risk.
Fix the insulation boards. Secure them with adhesive or mechanical fixings, sealing edges tightly. Stagger joints between layers and keep boards tight to the wall.
Detail the corners. At an internal corner, butt the boards tightly and tape the joint; at an external corner, use a continuous board or a sealed corner detail rather than two boards meeting with a gap. At wall-to-floor and wall-to-ceiling lines, seal with an appropriate airtight tape or mastic so warm moist air cannot reach the cold brick behind.
Seal the joints and penetrations. Tape and seal gaps where boards meet, around windows, at service penetrations and at floor and ceiling lines. This airtightness layer is what stops condensation forming on the cold wall behind the insulation.
Add the finish. Apply a plaster or board finish suited to your insulation type. Use a vapour-control approach appropriate to the material, breathable finishes for mineral wool and calcium silicate, and careful sealing for rigid foam.
Decorate and monitor. Leave the walls to dry fully before painting, then check for damp over the next few months. Re-check corners and junctions with an infrared thermometer or moisture meter to confirm the cold spots have gone.
Watch out: skipping the sealing step is the most common mistake. Gaps let warm moist air reach the cold brick behind the boards, which causes condensation, and the corners and wall-to-floor lines are where those gaps most often appear.
Verifying the result
After the job, compare the same points you measured before: the middle of the wall, the corners, the reveals and the wall-to-floor junction. A successful job shows a more even surface temperature and no new damp patches. If a corner is still markedly colder, the junction detail has failed and needs revisiting before you decorate over it.
The steps below summarise the installation process in order, so you can see what each stage involves.
Step | What to do | Key point |
1. Assess and prepare | Fix damp and cracks, clean the surface, check the wall | Insulating over damp traps moisture |
2. Check electrics | Move sockets, switches and radiators as needed | Cabling must not sit inside insulation |
3. Plan junctions | Decide how insulation meets floor, ceiling and reveals | Gaps here are thermal bridges |
4. Fix boards | Secure with adhesive or mechanical fixings | Seal edges and stagger joints |
5. Detail corners | Butt and tape internal corners; seal external corners | Two boards with a gap fail |
6. Seal joints | Tape gaps, windows, service penetrations, floor and ceiling lines | Stops condensation on cold brick |
7. Add finish | Apply plaster or board suited to insulation type | Match vapour control to material |
8. Decorate and monitor | Let walls dry, then check for damp over months | Re-check corners with thermometer or meter |
Solid Wall Insulation Cost and Booking Your Survey With Dri-House
Pricing depends on the size of your home, the materials chosen and the work involved, so ask Dri-House for a written quote tailored to your property. Before you hire any installer, read our guide on how to choose a damp proofing company to check qualifications and spot red flags.
Dri-House can help you plan the job from the start. You can book a free damp and mould survey to see what your property needs, or arrange a free call to talk through your options.
To find out whether internal wall insulation suits your home, book a free damp and mould survey. Or, if you want to talk it through first, book a free call consultation to discuss your project and get a clear sense of the next steps.
Insulating a solid brick wall internally can cut heat loss and stop cold spots from turning into mould. Start with a proper survey, deal with damp first, and choose materials that suit your wall.
Frequently Asked Questions
Can you insulate a solid brick wall from the inside?
Yes. Internal wall insulation is one of the main routes for solid brick walls, which have no cavity to fill. It involves fixing an insulating layer, usually rigid board or a lime-based system, to the inside face of the wall and finishing it with plasterboard or plaster. It is most useful where external insulation is not practical, such as in listed buildings, terraces or properties with a conservation restriction. Because it reduces the room's floor area and needs careful damp management, a survey before work starts is essential.
Can internal wall insulation cause damp?
It can, if it is installed without managing moisture. Internal insulation cools the masonry behind it, so moisture that previously dried outward can condense at the new cold surface. Using a breathable, vapour-open system, fitting a suitable vapour control layer where the design calls for it, and ensuring existing rain penetration and ventilation problems are fixed first all reduce this risk. Ask any installer for a moisture assessment before work begins.
Do you need a vapour barrier with internal wall insulation?
It depends on the system. Some internal insulation designs rely on a vapour control layer to stop warm, moist room air reaching the cold masonry, while breathable lime-based or wood-fibre systems are designed to let moisture pass through. Fitting the wrong type can trap moisture, so the choice should follow the manufacturer's guidance and the findings of your survey rather than a general rule.
How much does solid wall insulation cost?
Costs depend on the wall area, the system chosen, the number of rooms, any repairs needed before fitting, and access. Pricing varies with each property, so the most reliable figure comes from a written quote. Contact Dri-House for current prices, and ask for the scope, materials and any remedial work to be itemised so you can compare the figures in GBP on a like-for-like basis.

Comments